Vinyl wrap application is an increasingly popular technique for transforming the look of interior surfaces. Whether you’re looking to revamp your kitchen cupboards, give a new look to your desk, or add a stylish finish to your wardrobe doors, vinyl wrap application offers a versatile, cost-effective, and aesthetically pleasing solution. In this comprehensive guide, we’ll take you through the step-by-step process of vinyl wrap application, ensuring you achieve professional-looking results every time.
Introduction to Vinyl Wrap Application
Vinyl wrap application involves covering surfaces with a thin, adhesive-backed vinyl film. This technique can be used on a variety of materials, including wood, metal, and plastic. The benefits of vinyl wrap application include its durability, ease of maintenance, and the wide range of colours and finishes available, allowing for endless customisation options.
Tools and Materials Needed for Vinyl Wrap Application
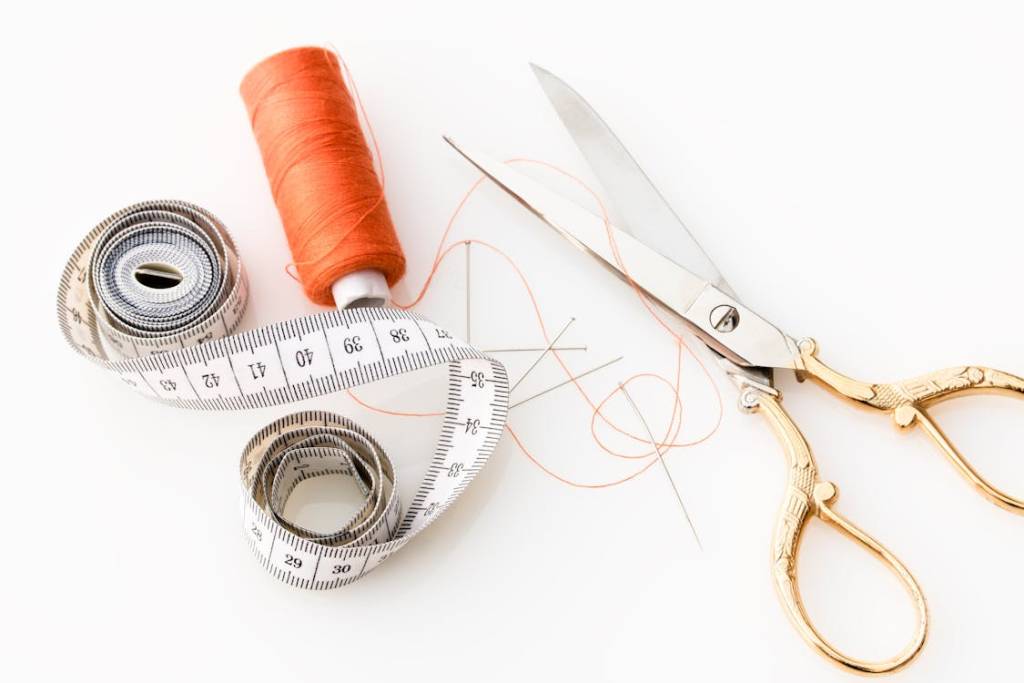
Before you start your vinyl wrap application, gather the following tools and materials:
- Vinyl wrap
- Squeegee or plastic applicator
- Utility knife or scissors
- Heat gun or hair dryer
- Cleaning solution (e.g., isopropyl alcohol)
- Microfiber cloth
- Measuring tape or ruler
- Pencil or marker
Step 1: Preparing the Surface
Proper preparation is crucial for successful vinyl wrap application. Begin by cleaning the surface thoroughly to remove any dust, grease, or contaminants. Use a cleaning solution like isopropyl alcohol and a microfiber cloth to ensure the surface is spotless. Pay special attention to corners and edges, as dirt in these areas can prevent the vinyl from adhering properly.
Step 2: Measuring and Cutting the Vinyl
Accurate measurement is key to avoiding wastage and ensuring a perfect fit. Measure the surface you plan to wrap and add a few extra centimetres to each dimension to allow for trimming. Mark the measurements on the vinyl wrap using a pencil or marker, then cut the vinyl to size using a utility knife or scissors. If you’re covering multiple surfaces, it’s a good idea to label each piece to avoid confusion during the application process.
Step 3: Positioning the Vinyl
Peel back a small section of the backing paper from the vinyl wrap and position it on the surface. Align the vinyl carefully, ensuring it’s straight and centred. Press the exposed adhesive side onto the surface, starting from the centre and working your way outwards to avoid air bubbles. Once the vinyl is aligned correctly, slowly peel back the rest of the backing paper while pressing the vinyl down with your squeegee or plastic applicator.
Step 4: Applying the Vinyl
Use the squeegee to smooth out the vinyl wrap, working from the centre towards the edges to eliminate any air bubbles. For curved or irregular surfaces, apply gentle heat with a heat gun or hairdryer to make the vinyl more pliable and easier to work with. Be cautious not to overheat the vinyl, as this can cause it to stretch or warp. Continue smoothing the vinyl until it adheres evenly across the entire surface.
Step 5: Trimming the Excess Vinyl
Once the vinyl is applied, use a utility knife or scissors to trim any excess material. Run the blade along the edges of the surface for a clean, precise cut. Be sure to hold the blade at a shallow angle to avoid cutting into the underlying material. If you’re wrapping a surface with corners or intricate details, make small relief cuts to help the vinyl conform to the shape without wrinkling.
Step 6: Finishing Touches
To ensure a professional finish, go over the entire surface with a squeegee one last time, paying special attention to edges and corners. If any air bubbles remain, use the tip of the utility knife to puncture them gently, then press the vinyl down with the squeegee. Apply a final pass of heat to set the adhesive and improve the vinyl’s durability.
Tips for a Successful Vinyl Wrap Application
- Take Your Time: Rushing the process can lead to mistakes. Work slowly and methodically for the best results.
- Use Quality Vinyl: Invest in high-quality vinyl wrap for better adhesion, durability, and appearance.
- Practice on Small Items: If you’re new to vinyl wrap application, start with smaller items to build your confidence before tackling larger projects.
- Maintain Your Wrapped Surfaces: Clean wrapped surfaces with a mild soap solution and a soft cloth. Avoid abrasive cleaners that could damage the vinyl.
Applications of Vinyl Wrap
Vinyl wrap application isn’t limited to automotive use; it has versatile applications in home and office interiors as well. Here are some popular uses:
Kitchen Cabinets and Countertops
Revamp your kitchen without the hefty price tag. Vinyl wrap can give your cabinets and countertops a fresh, modern look.
Desks and Office Furniture
Update your workspace with vinyl-wrapped desks and shelves. Choose from a range of finishes to match your office decor.
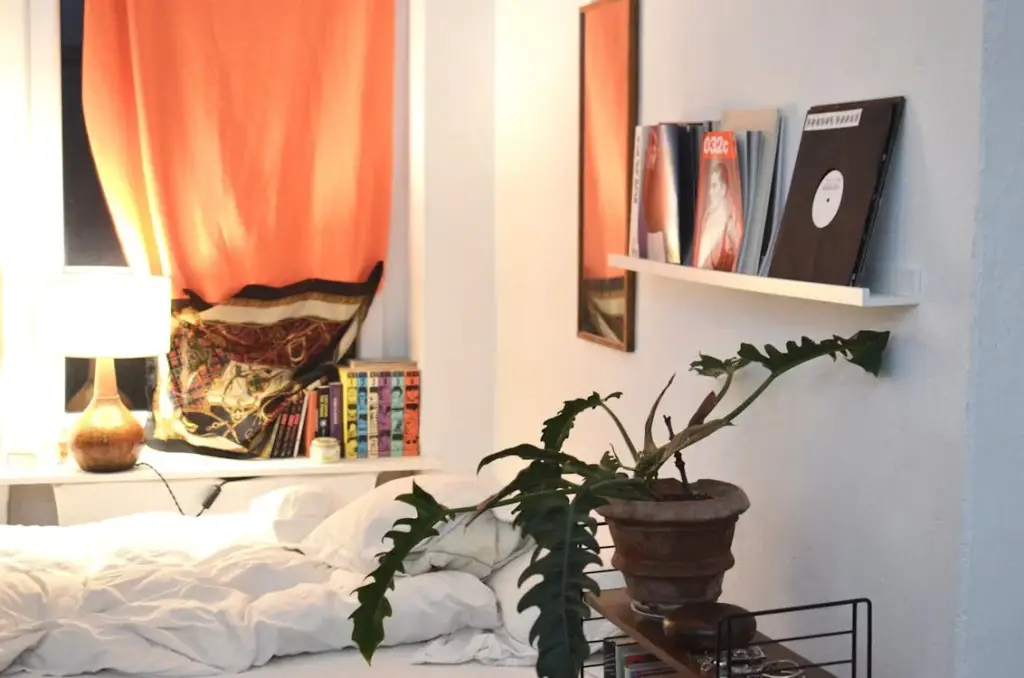
Wardrobes and Dressers
Transform old furniture into stylish pieces with vinyl wrap. It’s a cost-effective way to refresh your bedroom.
Advantages of Vinyl Wrap Application
Cost-Effective Renovation
Vinyl wrap application is a budget-friendly alternative to traditional renovation methods. It allows you to update the look of your surfaces without the expense of replacement.
Durability and Maintenance
Vinyl wraps are highly durable and resistant to scratches, stains, and UV rays. They are easy to clean and maintain, making them an ideal choice for high-traffic areas.
Versatility in Design
With a wide variety of colours, patterns, and finishes available, vinyl wraps offer endless possibilities for customisation. Whether you prefer a sleek, modern look or a rustic, wood-grain finish, there’s a vinyl wrap to suit your style.
Get Expert Assistance from Distinction Wrapping
If the idea of DIY vinyl wrap application feels daunting, or if you’re looking for a flawless professional finish, Distinction Wrapping can help. Our team of experts specialises in vinyl wrap application for a variety of interior surfaces. With our professional touch, you can ensure high-quality results that enhance the look and feel of your space. Contact us today to learn more about our services and how we can help you achieve the perfect finish for your interior projects.
Transform your space with ease—Trust Distinction Wrapping for all your vinyl wrap needs!